
Home / Services
Services
Six types of installation, from a projector and screen to a full dedicated cinema.
Dedicated cinema rooms
A room built for viewing
A room used only for watching gives more control. The light, the wall surfaces and the speaker positions can all be set correctly.
In a separate room every speaker can be placed correctly. Ceiling speakers for Dolby Atmos, Auro-3D and DTS:X, side and rear speakers at the right height, and the subwoofer positioned by measurement.
The screen is sized to the seating distance and the projector distance, not to the width of the wall. The back row usually sits on a raised step for a clear view.
Building work is part of the job. Heavier walls, door seals, a false ceiling to carry the speakers and wiring, dimmable lighting, and a ventilated position for the equipment rack. All of it is planned before anything is ordered.
If the room is still under construction, contact us early. Wiring and ceiling work done before plastering costs a fraction of cutting it open later.
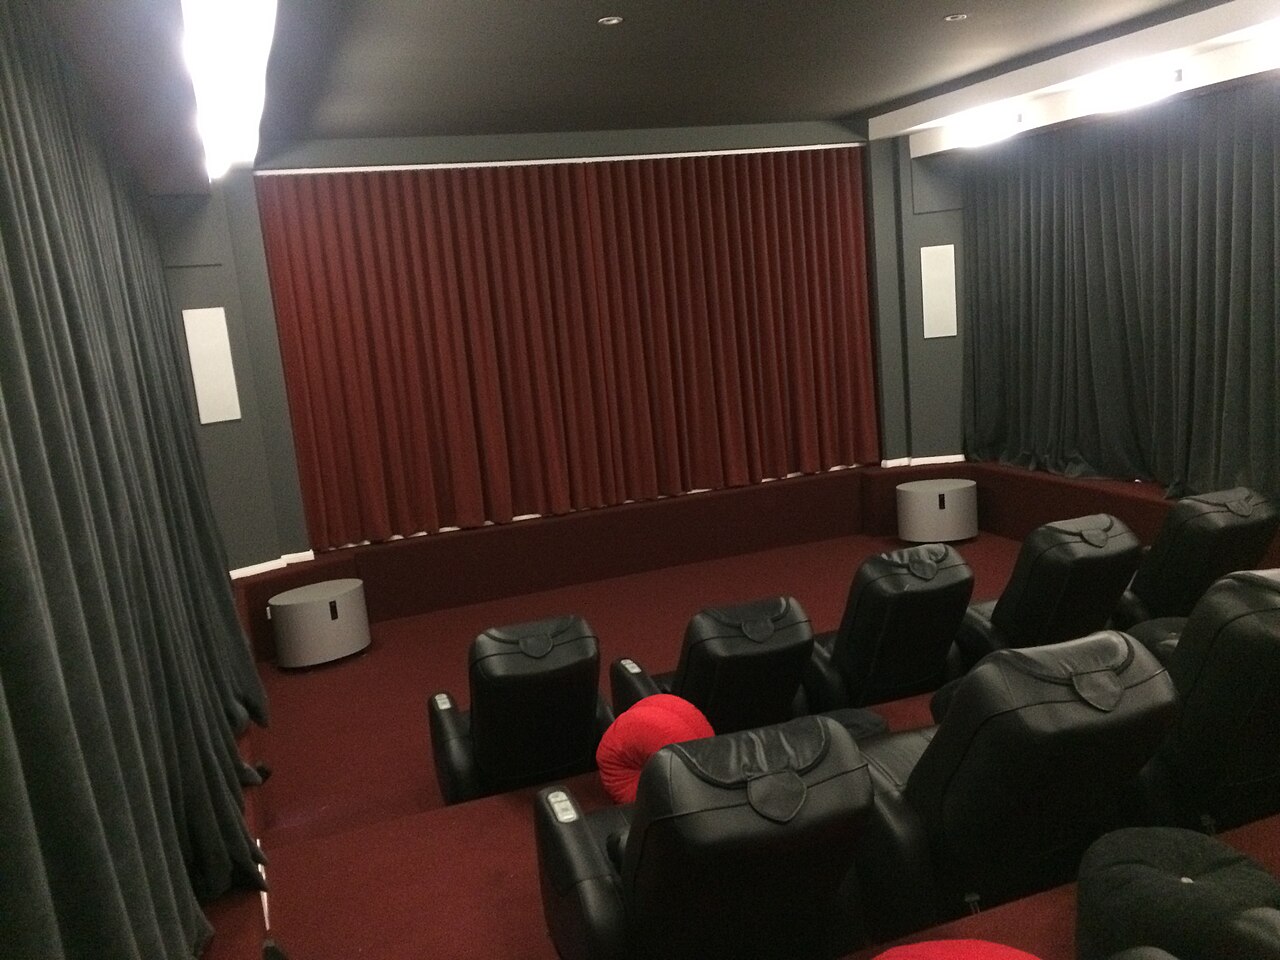
- Acoustic treatment and bass traps
- Up to 11 channels including height speakers
- Tiered seating on a built riser
- Light control and star ceiling
- 3D design approved before work starts
- Full calibration on handover
Living room systems
Built into the room you already use
Most of what we install is a living room system. It gets used every day, which for most families matters more than the extra performance of a separate room.
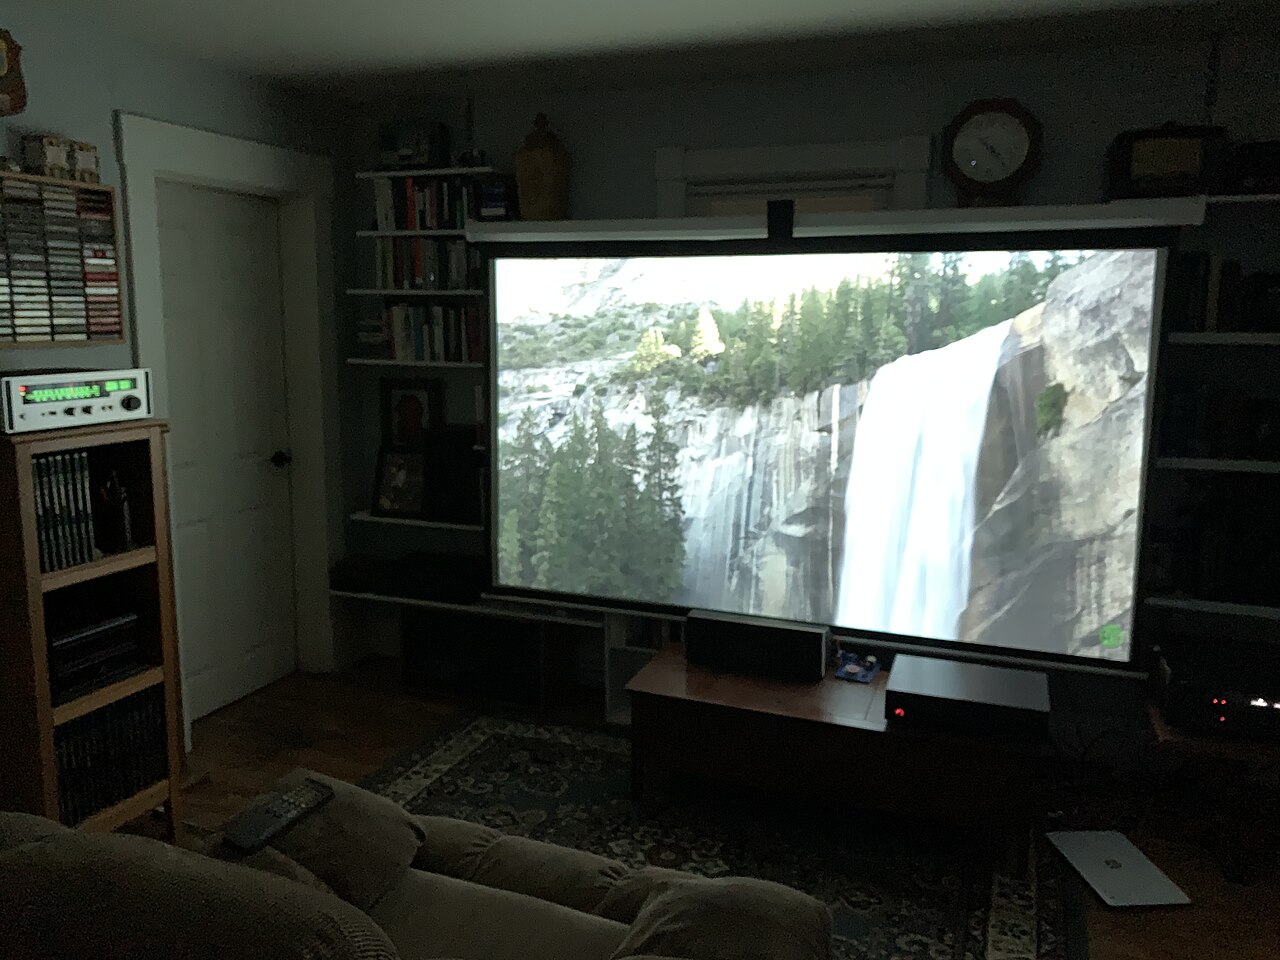
Living rooms have limits. The room cannot be fully darkened, the walls are hard, and the space is still in daily use. We select equipment that works in those conditions.
That usually means a brighter projector or a large TV, wall-mounted or in-wall speakers, and a subwoofer placed where it sounds even and stays out of the way. A pull-down or motorised screen keeps the room normal when the system is off.
Wiring runs inside the wall where possible. Where it is not, we use trunking finished to match the wall.
The system is set up to be simple to use. One remote, inputs named clearly, and a volume limit if you need one.
Projector and screen packages
A large picture in an existing room
Supplied and fitted together. This suits anyone who wants a large picture and is happy with the sound they already have.
Projector choice comes down to two things: how much light the room gets, and how far back the projector can sit. A room with large windows and daytime use needs a much brighter projector than one that can be darkened. Getting this wrong is the most common reason people are disappointed with a projector.
The screen follows from that, including whether a fixed frame or a motorised screen suits the room. We measure on site and confirm the screen size the projector can fill properly.
Fitting covers the ceiling or wall mount, concealed wiring back to the equipment position, and setting the picture on site. Most are completed in a day.
Gaming setups
Consoles and gaming PCs
A system set up for films will not always pass a console's full picture through. The whole chain has to be checked.
-
1
Check the picture all the way through
The picture travels from the console through the cable, the receiver and then the screen. One older port anywhere in that chain reduces it to 60 Hz. We test the full chain before handover.
-
2
Proper cable on the long runs
Over about three metres, low-grade HDMI cable causes the picture to drop out intermittently. That is harder to trace later, so we fit cable rated for the job from the start.
-
3
Turn on the gaming features
Most TVs and receivers have settings that smooth the frame rate and reduce delay. They are often switched off by default. We enable them and confirm they are working.
-
4
Measure the lag
Game mode on, picture processing off, sound path kept short. We report the delay measured in your room.
-
5
Set it up for how you play
Competitive games need the lowest delay. Single-player games can accept more processing for a better picture. We set up both as separate modes.
In-wall and in-ceiling speakers
Speakers built into the structure
Up to eleven channels finished flush with the plaster, so the speakers are not visible.
Ceiling speakers are the practical way to add the overhead channels for Atmos and Auro-3D without brackets on the walls. In-wall speakers do the same at the front and sides where floor-standing cabinets are not wanted.
Timing matters. Cutting into a finished concrete slab or a completed false ceiling costs considerably more and is far more disruptive than planning the positions before the ceiling goes up. If the house is under construction, this is the stage to contact us.
We supply back boxes where the building work needs them, set the positions out from the seating, and leave the grilles ready to be painted in with the ceiling.
Service and repair
We service what we sell, and what we did not
Receivers, amplifiers, projectors and speakers, wherever they were bought. After thirty years most faults are familiar.
Bring the unit to the showroom at High School Junction, or call us out if it is already installed and difficult to move.
Send a photo of the back panel first if you can. With the model number we can usually tell you whether a repair is worthwhile before you make the trip. On some older units parts are no longer available.
- AV receivers
- HDMI faults, no sound or picture, standby faults, network and firmware issues
- Amplifiers
- Dead channels, cutting out, hum and noise, input switching faults
- Projectors
- Lamp and laser replacement, filter cleaning, colour wheel, picture faults
- Speakers
- Blown drivers, perished surrounds, cabinet and grille repairs
- Recalibration
- Existing systems measured and reset where they were never calibrated properly
Process
How an installation works
Seven stages from the first call to handover. We order nothing until you have approved the design and the quote.
-
1
Site visit
We measure the room: size, ceiling height, flooring, window and power point positions, and where you plan to sit. Free in and around Kollam.
-
2
Audio and video design
A speaker layout for your room and an itemised equipment list with a price against each item, in writing.
-
3
Interior design
Panel layout, fabric, ceiling detail, lighting and seating, selected to suit the rest of the house.
-
4
3D visualisation
A drawing of the finished room for approval before installation begins. Changes at this stage cost nothing.
-
5
Soundproofing
Containing sound within the room and reducing external noise, using door seals, wall build-up and floating layers where the structure permits.
-
6
Acoustic treatment
Acoustic panels on the walls and bass traps in the corners, so dialogue stays clear and the bass is even across the seats.
-
7
Installation and calibration
Mounting, wiring and calibration. The system is set up with measuring equipment and then checked by ear.
Next step
Book a free site visit
We measure the room, discuss what suits it, and send you a layout and quote in writing. Site visits are free in and around Kollam.
- Areas covered
- Across India — most clients in Kerala, Tamil Nadu and Karnataka
- Live demo
- Full system running at the Kollam showroom, until 6 pm
- Formats
- Dolby Atmos, Auro-3D, DTS:X, 4K and 8K HDR
- Experience
- Thirty years selling, installing and servicing